THE 2016 BIKE WEEK ROAD TRIP

Day 00 [ddMMMyy/DDD] Preface
The "front page" of the 2016 Bike Week Road Trip contains a link to a separate web page for each day of the trip.
The trip was 28 days, covered over 9000 miles, and is documented in over 9000 photos.
The link to each day's web page takes you to a web page that documents that day; at the top of the page is a
link back to the "front page" of the 2016 Bike Week Road Trip, a link back to the previous day's web page, a
title line for web page's day, the BEST photos for that day, links to additional pages which contain ALL
the photos taken that day, and, a link forward to the next day's web page. Many of the photos were taken while rolling
along and could be of anything that Sharon thought was interesting, e.g., an interesting landscape or street in
a town, or, other things more obscure and requiring closer examination (by enlarging the photo), e.g., a rock,
an old barn, a creek, or a white horse (1st person to see a white horse and say "ZITZ!" gets a point (Sharon is
hopelessly behing in this game: 167 to 42, my favor)).
Favored photos will be displayed at a width of 760 pixels, others at 380 pixels. All these photos have an embedded active
link which will enlarge the photo to 1200 pixels within the page if you click on the photo; note: *IF* you notice 4 arrows in the bottom right corner
of the enlarged photo, then, if you click in the middle of the 4 arrows the photo will enlarge even more. Also,
when you click on a photo to enlarge it a link to the original photo will be displayed in the bottom left of the pane (Cannon
photos at 4+/-Mb at 5152 x 3864 pixels; Nikon photos 6+/-Mb at 6016 x 4000 pixels) in case you want click on that to see the photo in maximum detail. |
Daytona Bike Week is the MOST OUTSTANDING EVENT I have ever attended, bar none.
Sharon's and my first trip to Daytona Bike Week was in 2004, and, ever since we have said
we need to go again, but, it was maybe again in a few years, then, maybe again year after
next, then, maybe next year, maybe next year, until 2015 when it was finally next year!
|
|
|
So through out 2015 we thought about it and during October 2015 through February 2016
the serious planning occurred: determining a route "to" and "from" Daytona, contacting
family and friends, making motel reservations (excepting the motel in Florida, all
motels were booked in advance through booking.com without any problem (the Florida motel was
booked through Priceline.com which does not have the ability to modify a reservation,
only to cancel the reservation)), considering National Parks and other places to visit,
creating a packing list, coming up with something to give to family and friends with whom we stayed, and, creating a daily ininery with details for points of interest
and motel and various map snippits and printing and putting this ininery into a 3-ring binder. |
The printed itinery, packing list, etc. for the trip can be viewed here:
russellrazholder.com/sandbox/160301bikeweek/160301BikeWeekRoadTripIndex.html
This itinery is formated in large font size for ease of reading while on the road.
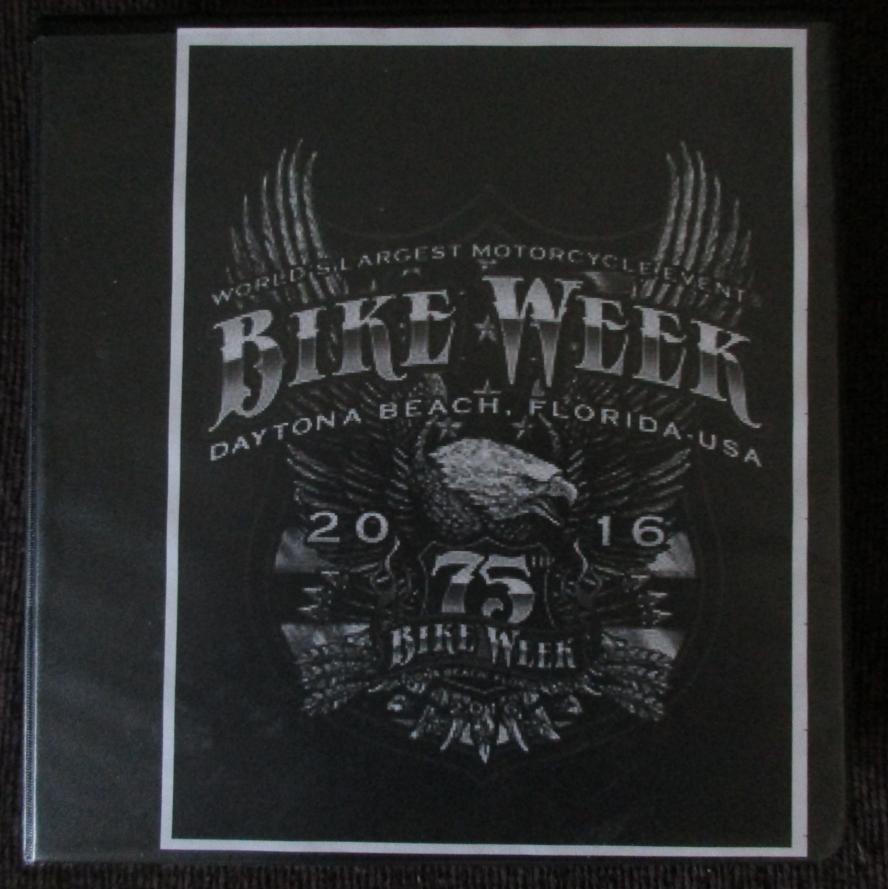
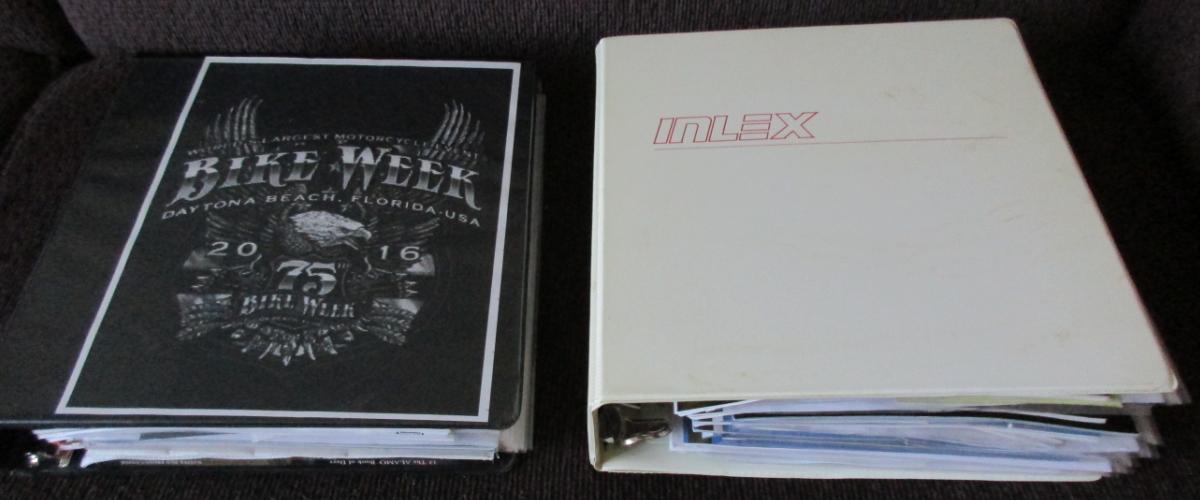
The 3-ring binder chosen to contain the itinery was a 11/2 inch binder;
however as receipts and point-of-interest brocheurs began to accumulate in the clear pockets
in the binder... the binder was soon over flowing and the overflow ended up in an additional
2 inch 3-ring binder.
... photo by Russell Holder
... photo by Russell Holder
... photo by Russell Holder
Considering something to give to family and friends with whom we stayed: what could it be? A bottle of wine?
Some folks do not drink alcohol, some folks, well, don't know if they drink alcohol, some folks have a wine cellar
(so how would you even begin to pick a wine for an educated pallet?). A bottle of wine was out... what to do,
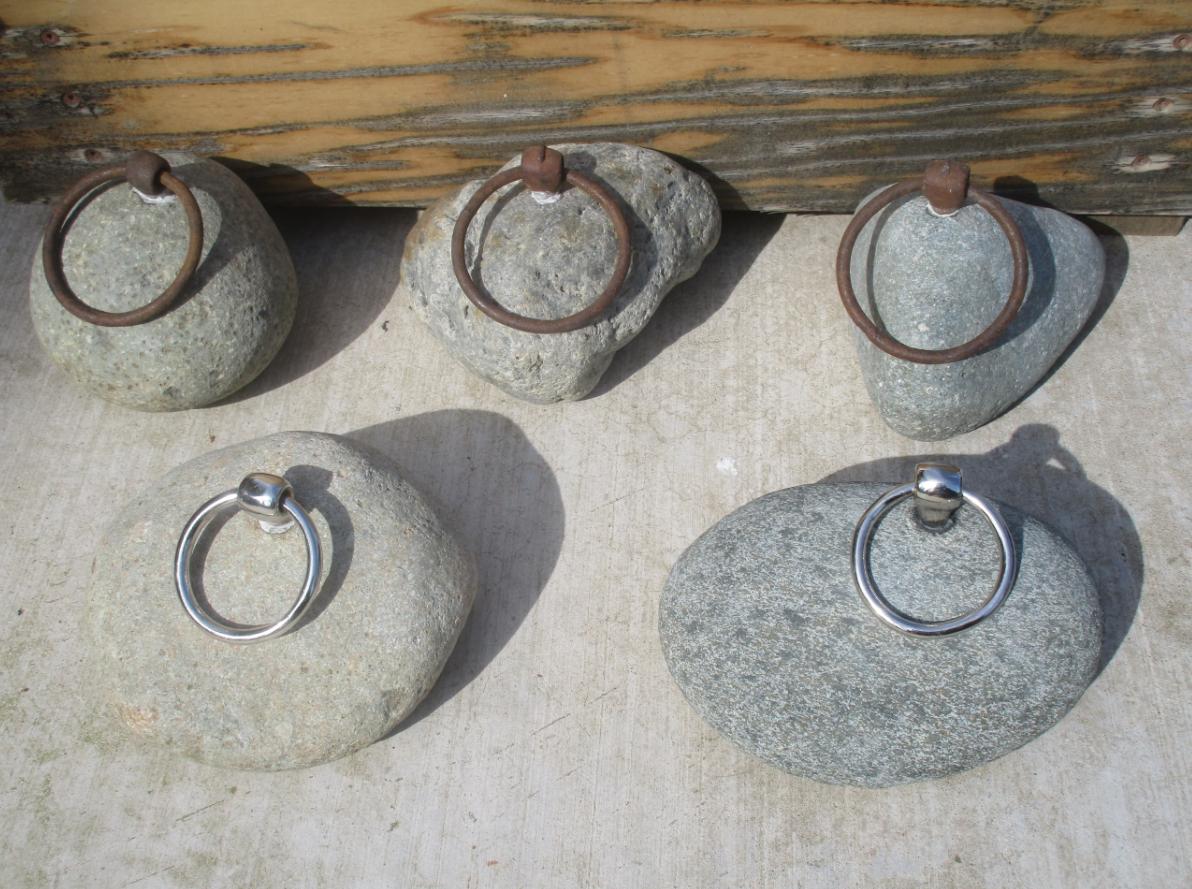
what to do, what to do. Then it hit me - a while back Moe gave me an antique door stop hundreds of thousands of
years old with half of a horse's snaffle bridle bit imbedded in it.
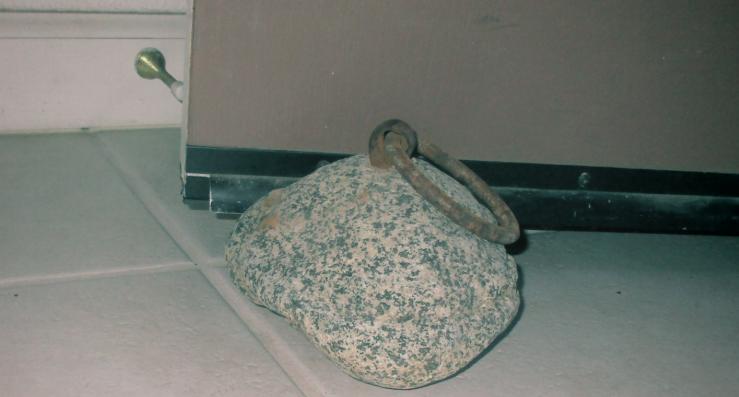
antique door stop by Moe... photo by Russell Holder
Well, our whole yard is rocks, so, that's it!
Pick some of Sharon's favorite rocks at 5 to 6 pounds each, poke a hole in them and insert half a snaffle bit.
So with 4 snaffle bits (for 8 rocks) off of eBay at $3 each, I chose 8 of Sharon's favorite rocks.
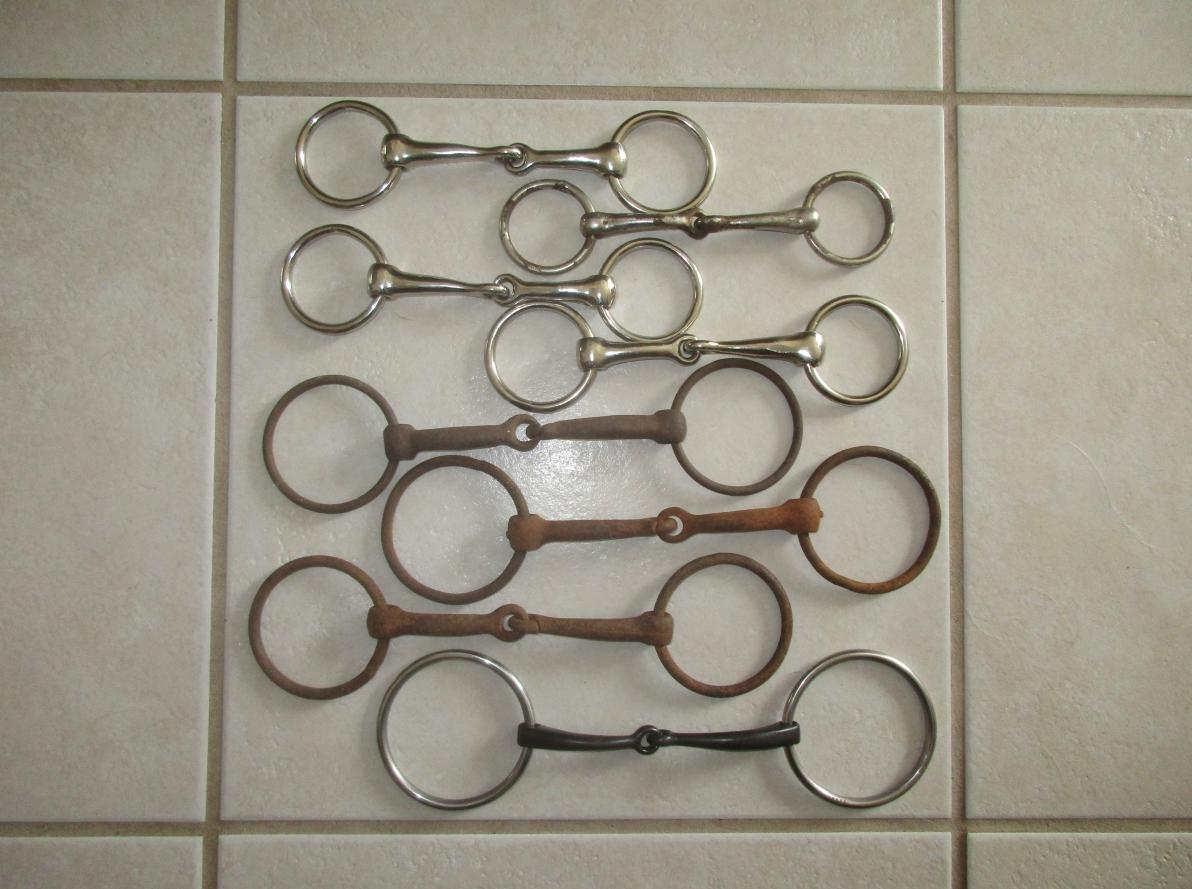
... photo by Russell Holder
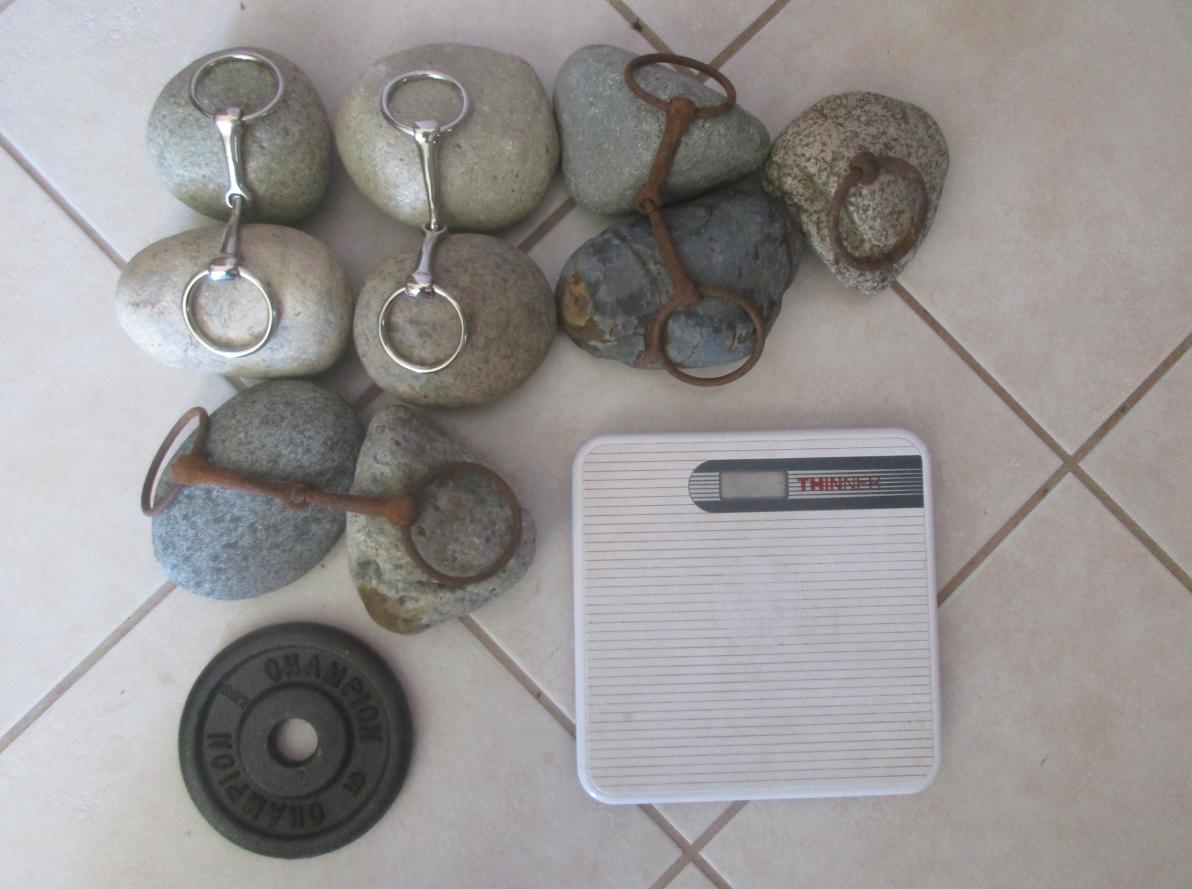
... photo by Russell Holder
I'm not sure what these 5 to 6 pound chosen rocks were made of but they laughed at my carbide tipped masonry
bits in my 3/8" hand drill, so called Moe - "a hand drill wont cut it, you need to use a drill press." Then
went to a shop and borrowed some time on a drill press...
burned up 4 bits going slow and steady... even added water... (one bit was destroyed leaving the carbide tip
in the hole to be pulled out). Well, drilled a 1" deep hole in 5 & 1/2 rocks, #6, #7 & #8 laughed at a drill
press powered carbide tip!!! Then used a die grinder and stone grinder to split the snaffle bits and make them
fit into the hole.
Then, back at the house, prepared the rocks for the application of the ukky pukky from the $20/tube of masonry epoxy...
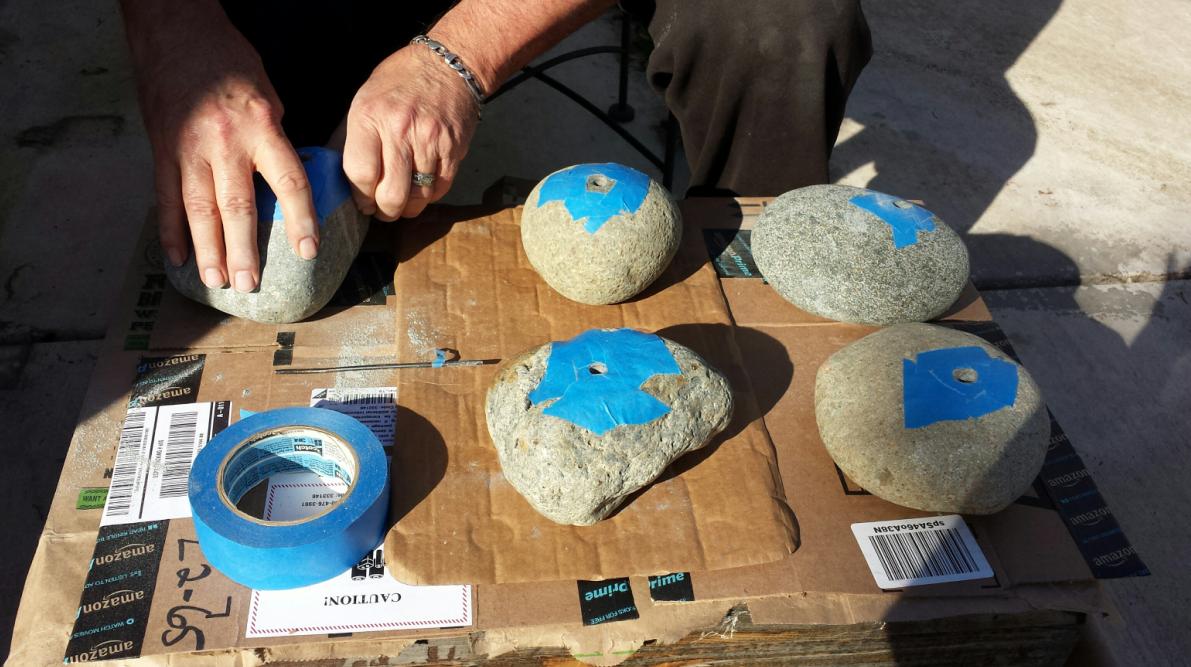
... photo by Russell Holder
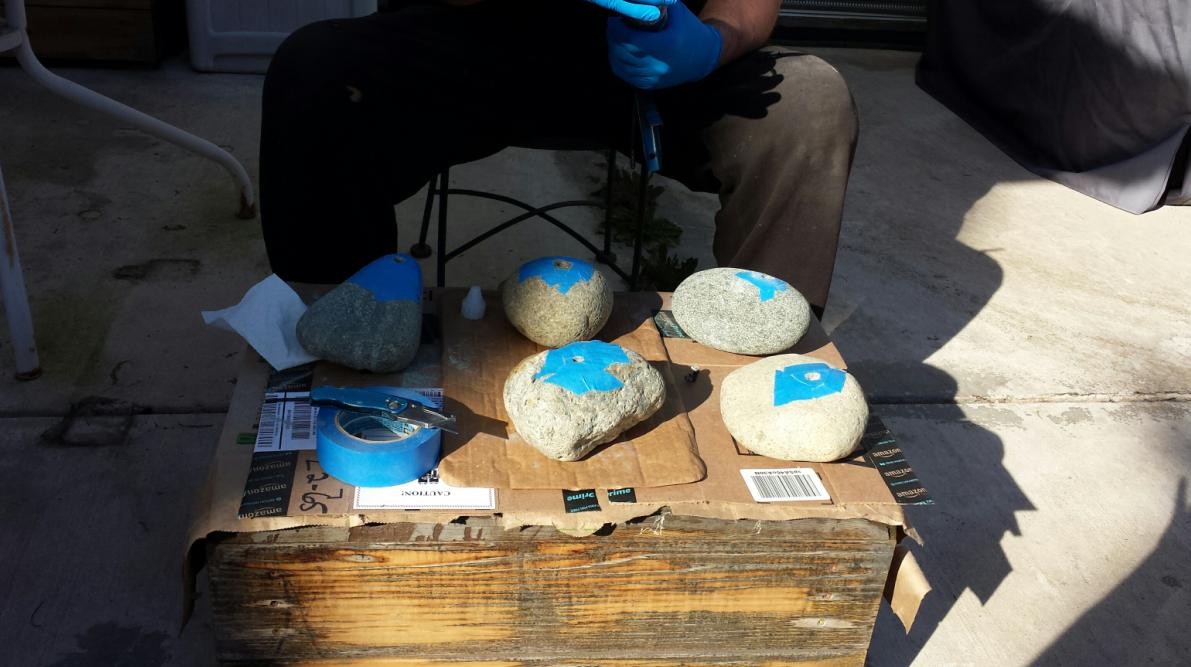
... photo by Russell Holder
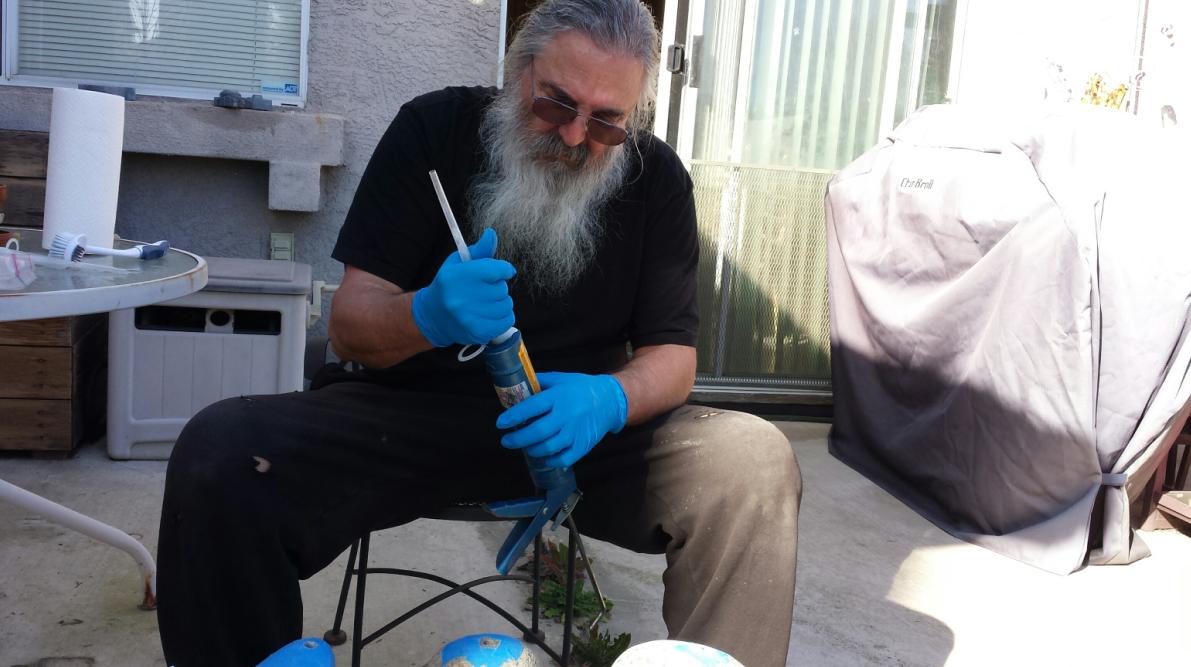
... photo by Russell Holder
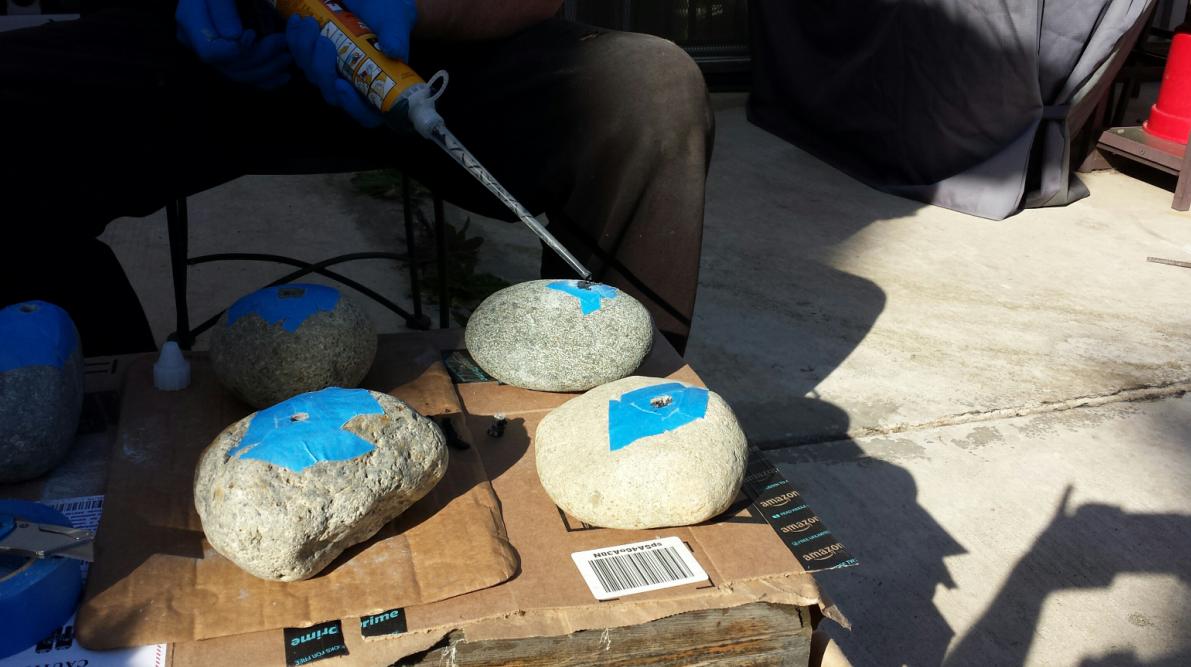
... photo by Russell Holder
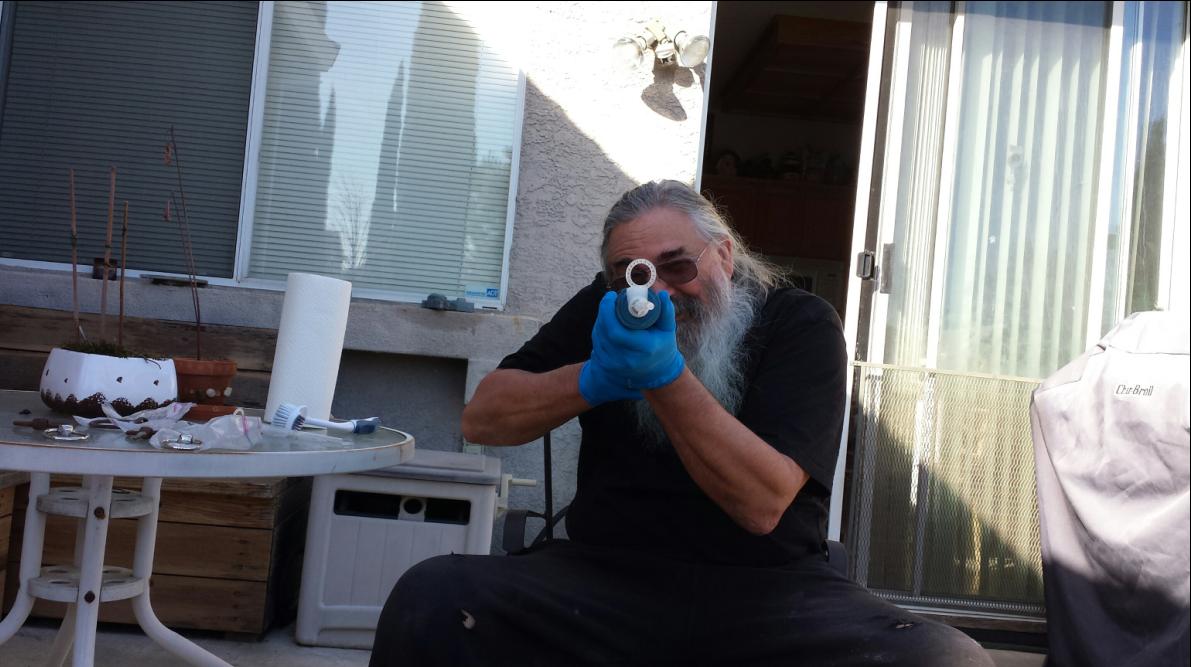
... photo by Russell Holder
On the 1st pass only the black
side of the epoxy came out... wrong... clean up and start over... now white mixes w/black and makes gray..., but,
by the time the snaffle bit was applied the epoxy in the rock was already too hard to insert the snaffle bit, and,
now the masonry epoxy in the tube tip was hardened to the point that no more epoxy was going to come out, but,
the tube of masonry epoxy came with 2 tube tips... install 2nd tube tip and prepare to do all rocks at once - quickly...
put epoxy into all holes... go to install 1st bit and... oops... the epoxy in the 1st hole had already hardened to the
point that I couldn't get the bit into the hole... likewise for the others... drill the hardened epoxy out of the holes,
clean the bits on a wire wheel, then called Moe - "get some Rockite" (water soluble ukky pukky for bonding bolts to rock),
sets in 15 minutes, hard in 30 minutes, can bolt apparatus to it in an hour without any damage to the bond! Apparently
so... well... good enough to pick the rock up by...
... photo by Russell Holder
Want one of these antique door stops? Make one yourself... it's a good afternoon project (if you have a few days!!!).
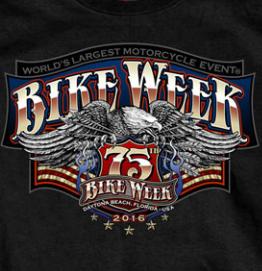
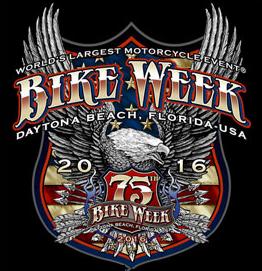
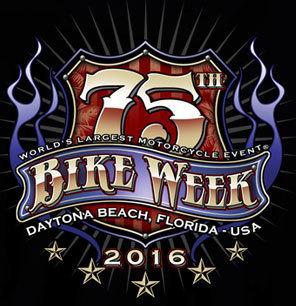
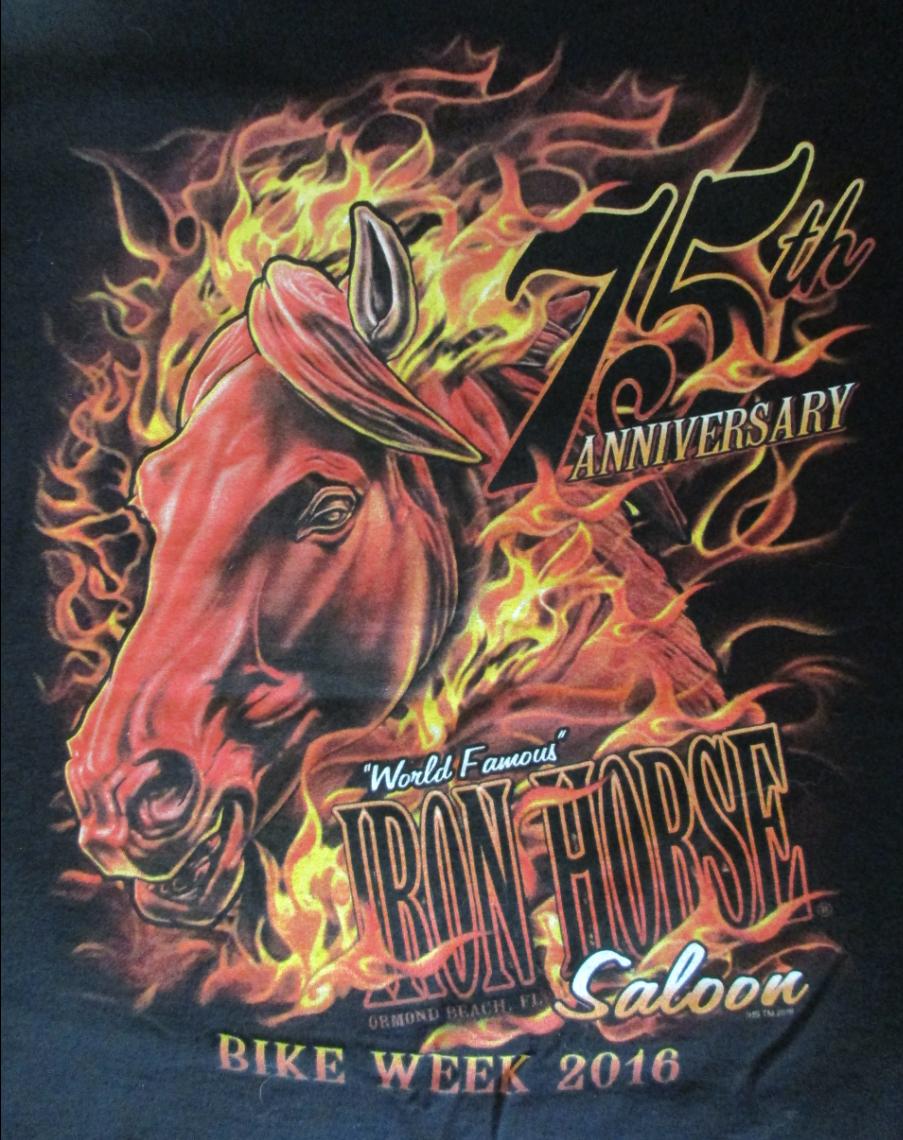
One more thing in preparation of the trip - to be sure I ended up with the preferred 2016 Bike Week T-shirts, ordered them
online at the official Bike Week website (officialbikeweek.com),
Bruce Rossmeyer's Harley-Davidson website (brucerossmeyer.com)
and the Iron Horse Saloon website (ironhorsesaloon.com), then
packed them and wore them on the trip - this also saved time visiting all the various vendors and checking
out what was available and choosing which ones I liked.
Freedom Eagle (front/back):
75th Bike Week, Feel the Thunder (both shirt's front & back are the same):
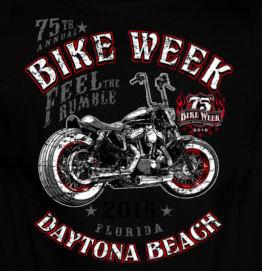
Bruce Rossmeyer HD (front/back):
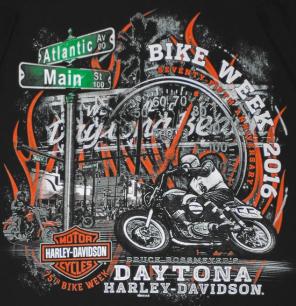
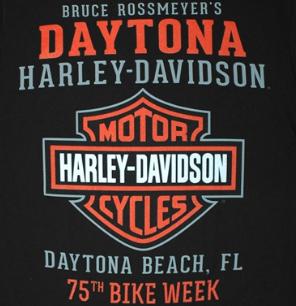
Iron Horse Saloon (front/back):
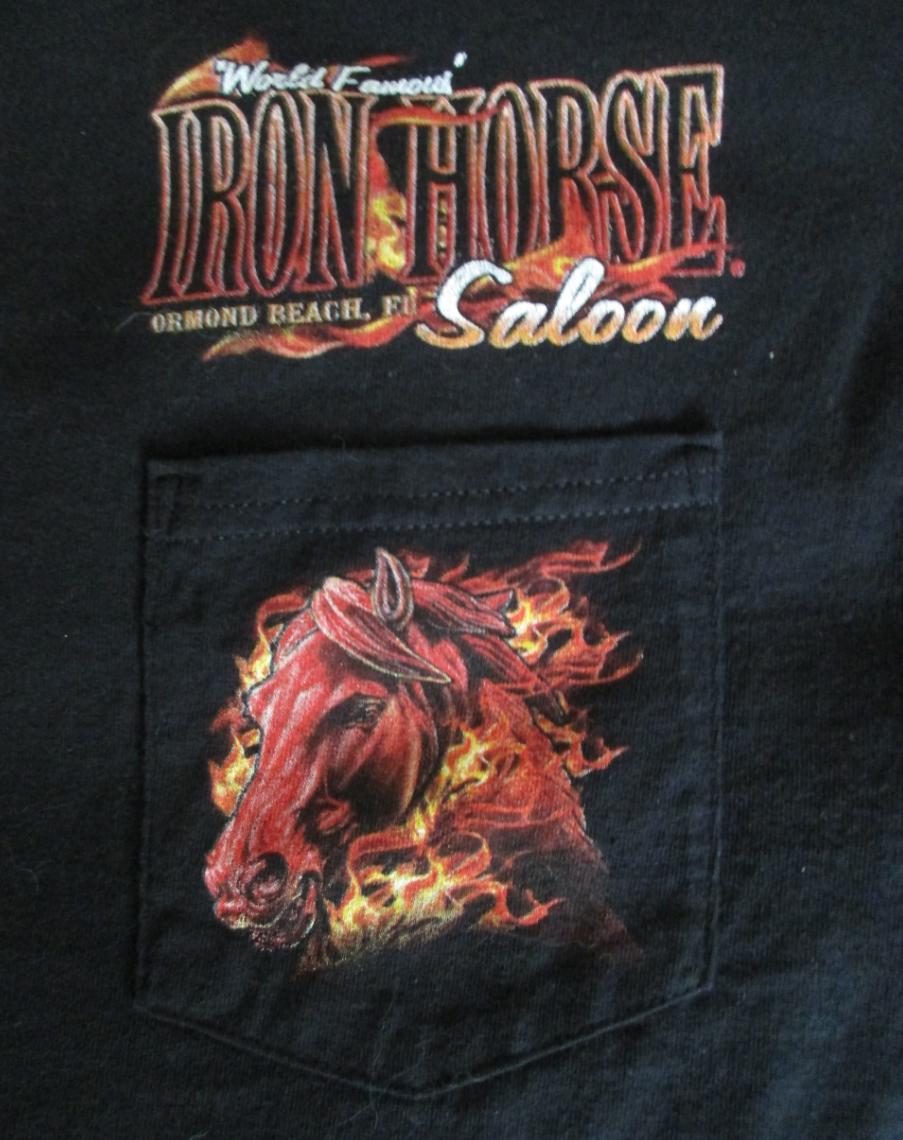
NEXT: Day 01 [276FEB16/FRI] pick up Standard SUV
|

